Technique · 7 min read
How to tighten and adjust your BMX chain, step by step
The chain at just the right slack: tightening from the axle, tensioners, wheel alignment and the tight spot.
Guide updated
Quick answer: Tightening a BMX chain means sliding the rear wheel back in the dropouts until there is about 1–1.5 cm of play when you push the chain up and down in the middle of the lower run. Loosen both rear axle nuts (a 17 mm socket on most BMX bikes), pull the wheel back —or turn the tensioners a quarter-turn at a time, the same on each side—, centre the wheel and tighten the nuts, the sprocket side first. Always set the tension at the tightest point of the rotation, by turning the cranks.
Tightening a BMX chain is the most common adjustment on a BMX and one of the easiest: you do not tighten it by pulling the chain, you tighten it by sliding the rear wheel back in the dropouts. Five minutes, one spanner and a little patience are enough. And it is worth doing properly: a loose chain jumps off just when you push hardest, and an overtight chain eats the sprocket and chainring and can snap.
How to tell if the chain is loose or too tight
Push the lower run of the chain up and down with a finger, in the middle between the sprocket and the chainring. Total travel should be about 1–1.5 cm: the reference workshop guides give for a single-speed BMX, between the quarter-inch The BMX Dude recommends and the half-inch SkatePro allows. The chain has to move, but only a little.
- Too loose: you can lift it off the sprocket by pinching it with your fingers, it hangs low enough to touch the chainstay, it slaps the frame as you ride, or it jumps off the sprocket when you pedal hard.
- Too tight: it does not move at all when you push it, the cranks feel stiff, the chain “sings” as you ride and pedalling feels bound up. With no slack, every hard pedal stroke and every knock goes straight into the chain, the sprocket and the bearings.
- Just right: it moves that centimetre or so, it does not touch the chainstay, and the cranks spin freely. That is the tension you want.
What you need
- A 17 mm socket or 17 mm spanner. That is the size of the axle nuts on most BMX bikes —and of the pegs—; the multi-tool guide explains why the deep 17 mm socket is the part that matters.
- A small Allen key (usually 4 or 5 mm) if your bike has chain tensioners.
- A ruler or tape measure to check the slack and, if needed, the wear (see “When to replace it”).
- A rag and chain lube: if the chain is dry and dirty, clean and lube it before adjusting; the routine is in the BMX maintenance guide.
Tightening the chain, step by step
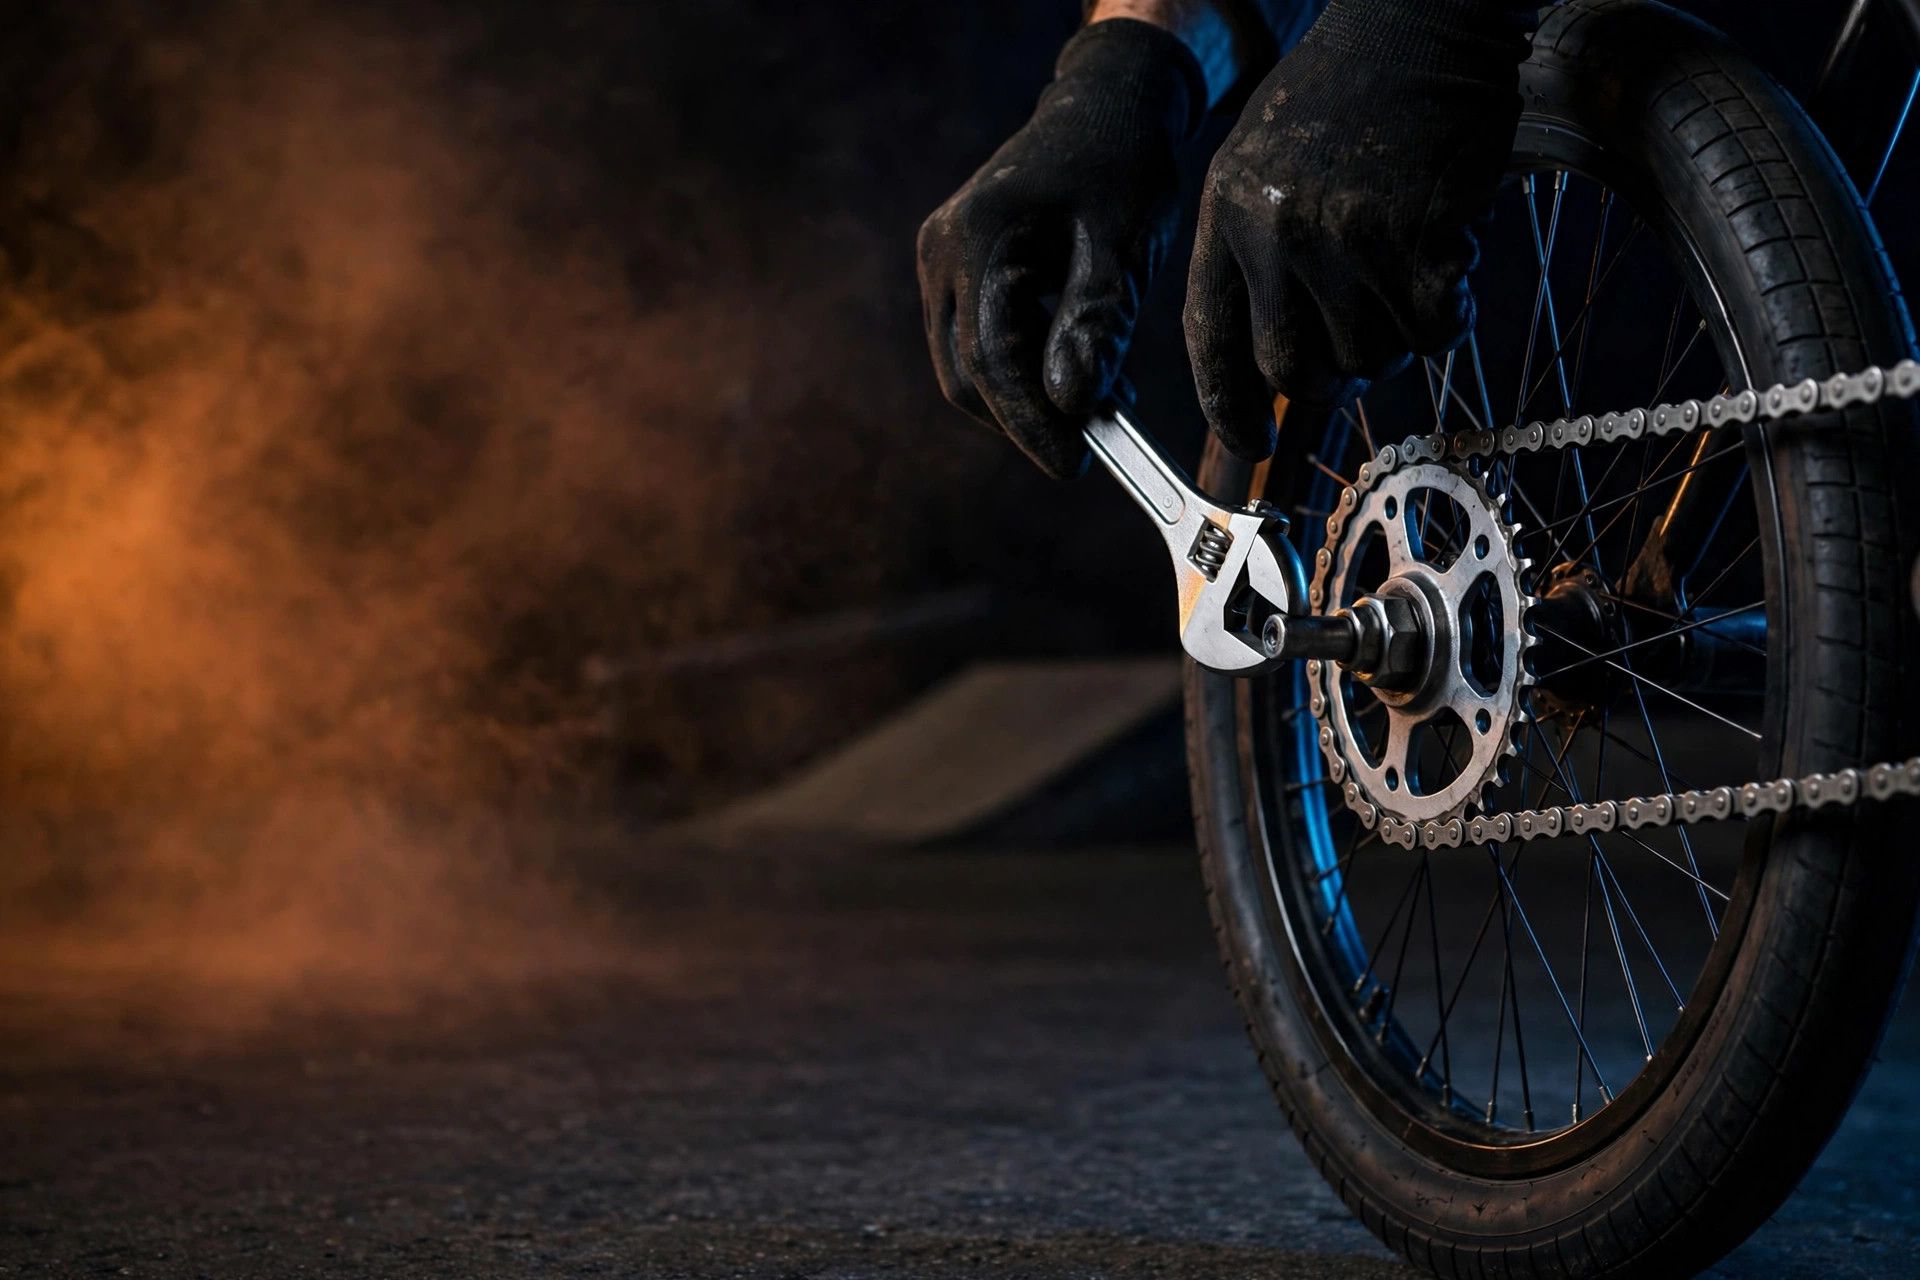
- Flip the bike over or put it on a stand, with the rear wheel free to spin. Measure the slack before touching anything, pushing the lower run up and down.
- Loosen both rear axle nuts just enough for the wheel to move in the dropouts. Do not take them off: finger-tight is loose enough. If you have tensioners, loosen their lock nuts too.
- Pull the wheel back until the slack is 1–1.5 cm. If you overshoot and it ends up too tight, push the wheel a little forwards. With tensioners, turn the screws a quarter-turn at a time, the same on each side, and check the tension after every adjustment.
- Centre the wheel. Look from behind: the wheel should sit in the middle of the frame, with the same gap between the tyre and each chainstay, and the chain running straight between the sprocket and the chainring. If one side sits further back than the other, the wheel is crooked and the chain will wear sideways.
- Tighten the axle nuts. The sprocket side first, then the other side, then check the first one again: that is the order The BMX Dude recommends so the wheel does not shift as you tighten. They go on tight —they hold the wheel and, if you run them, the pegs—; Park Tool lists around 25 Nm for the axle nut in its single-speed chain guide, if you have a torque wrench.
- Turn the cranks a full revolution and measure again at the tightest point (see below). If the slack changed as you tightened, repeat from step 2: needing two goes is normal.
- If you run a rear brake, check the pads are still centred on the rim after moving the wheel: shifting the wheel can leave the brake off-centre.
A new chain beds in and loosens a little over the first few sessions: check the tension again after a couple of days riding on it.
The tight spot: why tension changes as you turn the cranks
Turn the cranks slowly through a full revolution and measure the slack at several points: you will see the chain is tighter in one spot and looser in another. That is normal: neither the sprocket nor the chainring is perfectly round or perfectly centred. Always set the tension at the tightest point, where the chain has the least play. If you set it at the loose point, it will be piano-wire tight at the tight point.
If the tight spot is very pronounced —the chain goes from slack to rigid in half a turn—, check the sprocket bolts: a loose or off-centre sprocket is the most common cause, as HAZ BMX explains in their video. If the sprocket is properly tight and the spot is still there, the chain may be worn or have a seized link: time to check the wear.
With tensioners or without them
Some BMX bikes have tensioners built into the dropouts or bolt-on ones that fit on the axle: a screw on each side pushes the axle back and holds the wheel exactly where you put it. With them the adjustment is fine —quarter-turns— and the wheel does not move as you tighten the nuts, which matters if you grind on pegs, because the peg pulls the wheel forwards. Without tensioners the move is the same but by hand: pull the wheel, hold it with one hand and tighten with the other, and repeat until it sits centred.
When to replace the chain instead of tightening it
Sometimes tightening no longer fixes it. The classic test is the ruler method, as Park Tool and Sheldon Brown describe it: on a new chain, 12 full links measure exactly 12 inches (30.48 cm) from rivet centre to rivet centre. If that measurement passes 12 inches plus 1/16 (about 1.6 mm), start planning a replacement; if it passes 12 inches plus 1/8 (about 3.2 mm), check the sprocket and chainring too, because their teeth will already have worn to the shape of the stretched chain. Park Tool sets the limit for single-speed chains at 1.0% elongation.
- The wheel reaches the end of the dropout and the chain is still loose: the chain has stretched further than the adjustment can take up. A half-link chain lets you fine-tune the length link by link; the BMX chain buying guide explains which one to pick.
- Stiff links that do not free up when you flex them by hand, or links that are bent or cracked.
- Sprocket or chainring teeth shaped like shark fins —sharp and hooked—: the worn chain gave them that shape, and a new chain will skip over them.
- Rust that does not come off with cleaning, or a chain that creaks even when lubed.
Common mistakes when tightening the chain
- Leaving it piano-wire tight: with no slack, the chain forgives neither a hard pedal stroke nor a knock. It always has to move a little.
- Setting it at the loose point: the tightest point of the rotation is the one that counts, not the loosest.
- Tightening one side more than the other: if you turn only one tensioner, the wheel ends up crooked and the chain runs sideways. Quarter-turns, both sides equally.
- Not checking again after tightening: the wheel shifts a little as you tighten the nuts. Measure again before you ride off.
- Tightening a dry, dirty chain: clean and lube first; dirt in the links throws the measurement off and speeds up wear.
- Forgetting the pegs: if you run pegs on the rear axle, their nuts are the same ones you just loosened. Check they are properly tight before you ride.
What comes next
- Picking the right chain: standard or half link, what 1/2" × 1/8" means and how to get the length right, in the BMX chain buying guide.
- The full routine: cleaning, lubing and checking the chain every week, in the BMX maintenance guide.
- The tool that does it all: the 17 mm socket and the chain tool, in the multi-tool guide.
Frequently asked questions
How much slack should a BMX chain have?
About 1–1.5 cm of total travel when you push the lower run up and down in the middle, between the sprocket and the chainring. It has to move, but only a little: if you can lift it off the sprocket with your fingers it is too loose; if it does not move at all it is too tight.
What spanner do I need to tighten a BMX chain?
A 17 mm socket or spanner, the size of the axle nuts on most BMX bikes. If you have tensioners, a small Allen key as well (usually 4 or 5 mm) for their screws.
How do you tighten a BMX chain?
Loosen both rear axle nuts, pull the wheel back in the dropouts until there is 1–1.5 cm of slack, centre the wheel and tighten the nuts, the sprocket side first. With tensioners, turn the screws a quarter-turn at a time, the same on each side.
Why does the chain tighten and loosen as I turn the cranks?
That is the tight spot: neither the sprocket nor the chainring is perfectly round or perfectly centred, so tension varies around the rotation. Always set the tension at the tightest point. If the change is very abrupt, check the sprocket bolts.
How often should I check chain tension?
A quick finger check before every session is enough; adjust it when it feels loose. A new chain beds in and loosens a little over the first few sessions, so measure it again after a couple of days riding on it.
When should I replace the chain instead of tightening it?
When 12 links measure more than 12 inches plus 1/16 (about 1.6 mm) on the ruler, when the wheel reaches the end of the dropout and the chain is still loose, or when there are stiff links, rust, or shark-fin teeth on the sprocket.