Learn · 14 min
BMX maintenance: what to check, when and how
A one-minute routine before you ride, weekly and monthly jobs, basic tools, common mistakes and when to see a mechanic.
Guide updated
Quick answer: Before each session, take a minute to check tyre pressure, that the wheels and bars don't move, that the headset and cranks have no play, that the chain has about 12 mm of slack and that the brake, if you have one, responds. Every week, clean and lube the chain and look at the spokes and bolts; every month, check wear on the chain, tyres and pedals. Tighten every part to the torque its manufacturer gives, without lengthening the wrench, and take to a shop whatever isn't a home job: a cracked frame, a bent rim or a damaged thread.
In this guide
A BMX has few parts: a frame, a fork, two wheels, a single sprocket and, at most, one brake. That makes it one of the easiest bikes to look after at home, with a handful of tools and a bit of time each week. What it doesn't take well is neglect: a dry chain eats the sprocket and chainring, a loose headset batters its own bearings and a loose bolt ends up as a broken part.
This guide isn't a workshop manual. It's the routine worth doing before every session, what to look at more carefully each week and each month, the tools you actually need, the mistakes that come up most and the cases where it's better to leave the bike with a mechanic. The figures we give (chain slack, wear, torque) come from manufacturers and from Park Tool, and the sources are linked at the end. If your bike has no brake, skip the parts about brakes.
Before you ride
One minute
- Tyre pressure
- Wheels and bars firm
- No play in headset or cranks
- Chain with about 12 mm of slack
- Brake, if you have one
Every week you ride
A while at home
- Clean and lube the chain
- Look over the bolts
- Look over spokes and hubs
Every month
A thorough go
- Chain wear
- Tyres
- Pedals and cranks
- Bearings
A rule of thumb: it depends on how much you ride and where.
Before every session: the one-minute check
You do it with the bike on the ground and no tool other than a pump with a gauge. It costs less than fixing a bad day.
- Tyres: pressure and cuts
- Wheels: axle nuts and a centred wheel
- Bars and stem: must not turn
- Headset: no knocking
- Chain: about 12 mm of slack
- Brakes: without reaching the grip
- Pedals and cranks: no play
- Tyres. Squeeze them with your fingers and look over the tread and sidewalls for cuts or anything stuck in them. Pressure is measured with a gauge and kept within the range printed on the tyre's sidewall. According to Park Tool, riding on low pressure is a typical cause of pinch flats and of cuts at the valve.
- Wheels. The axle nuts must be properly tight and the rear wheel centred between the chainstays. A loose nut lets the wheel shift in the dropouts and the chain goes slack all at once.
- Bars and stem. Grip the front wheel between your knees and try to twist the bars: they shouldn't move. Check too that the bars are still lined up with the wheel.
- Headset. Squeeze the front brake, rest your other hand over the joint between headset and frame and rock the bike back and forth. A knock means play. Park Tool also describes another way: pull the top of the fork forwards and backwards while you feel with your hand for any movement.
- Chain. Push the chain up and down at the midpoint between sprocket and chainring. Park Tool gives about 12 mm (half an inch) of movement as the reference. Only touch the outer edge of the chain: you can trap a finger on the inside.
- Brakes. Squeeze the lever: it should stop the wheel without reaching the grip, and the pads shouldn't rub the rim when you let go.
- Pedals and cranks. Take each crank arm and push it from side to side. There should be no play. According to Park Tool, a loose bolt is the usual cause of creaks on a bike and, on a crank, it can end up damaging it.
Weekly and monthly maintenance
There's no official schedule that fits everyone: it depends on how much you ride and where. As a rule of thumb, the jobs in this section go every week you've really ridden, and the wear items once a month. If you've ridden in rain or mud, don't wait for the week to be up.
Chain: cleaning, lubrication and tension
The chain is the part that asks for the most care. Park Tool explains the process: first remove the heavy dirt, scrub the chain with a bike-specific degreaser and a brush (or a chain cleaner), rinse it with soapy water, dry it with a rag and lubricate it with one drop on each link. Then wipe off the excess with a dry rag so it doesn't hold dirt.
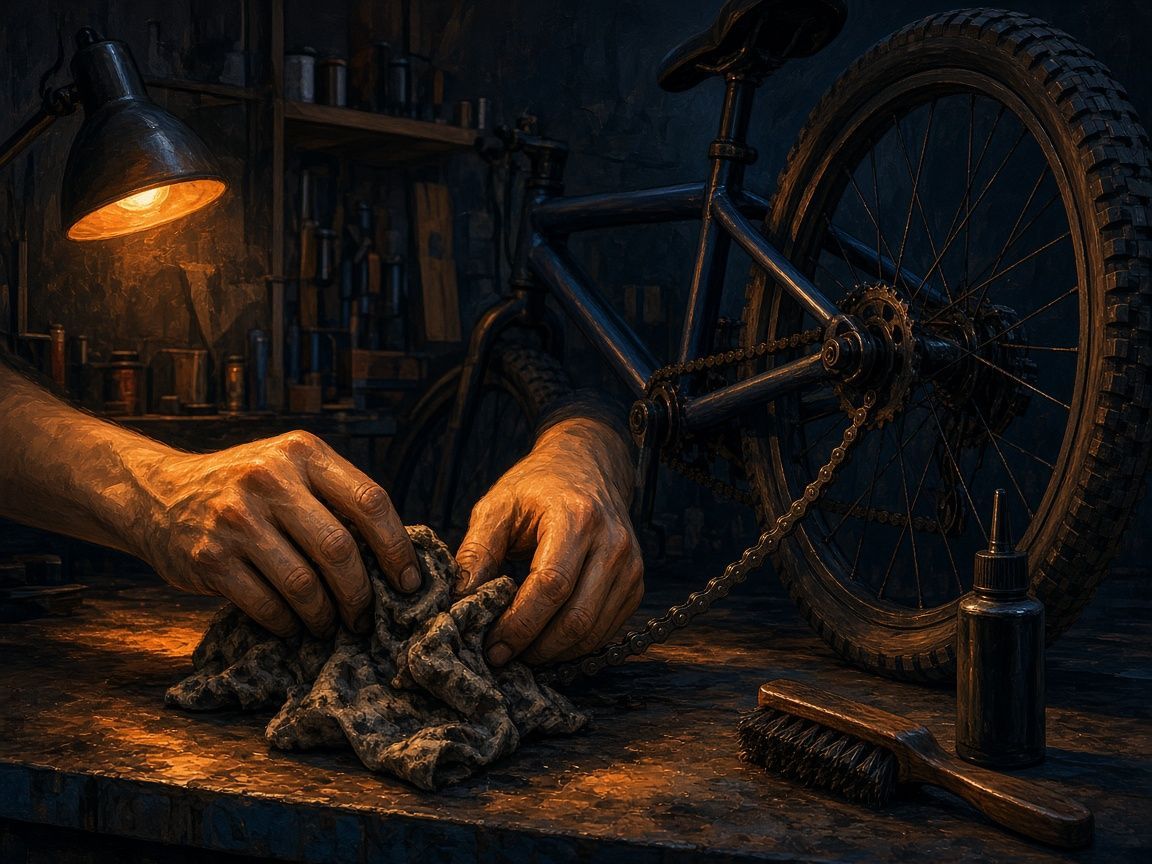
6 mm at the tightest spot, if the chainring or sprocket are not perfectly round (Park Tool reference).
More on the chain: lube, tension and wear
Choose a lubricant made for chains. Park Tool distinguishes between "wet" lubes, which are thicker and good in rain, and "dry" ones, which attract less dust, and warns that household penetrating oil such as WD-40 isn't a good chain lubricant to rely on regularly. Don't use petrol, kerosene or other flammable solvents to clean it either.
For tension, Park Tool's reference on two-sprocket chains is about 12 mm of up-and-down movement halfway along the chain. If you feel tight and loose spots as you turn the cranks, the chainring or sprocket isn't perfectly round: set it to about 6 mm (a quarter of an inch) at the tightest spot. To adjust it, loosen one axle nut, move the wheel slightly forwards or backwards, snug that nut, do the same on the other side and check the wheel is still centred. Then pull the chain sideways: it may rattle, but it shouldn't come off the sprocket or chainring. If it does, tension it a little more. If your bike has chain tensioners in the dropouts, they make this easier.
Wear is measured with a chain checker. Park Tool says a single-speed chain should be replaced when it reaches 1.0% wear, and that riding on a chain beyond its limit wears out the sprocket and chainring sooner. A tip that needs no tool: if the chain lifts off the chainring far enough to see daylight between the two, it's close to the end.
Brakes (if you have them)
The classic BMX freestyle brake is the U-brake, which, according to Park Tool, sits above the rim. The pads are set at the lower edge of the braking surface, because the U-brake moves in an arc and the pads rise as they wear. Keep them square to the rim and with a little "toe": the front edge touches first and there's a small gap at the back, which helps prevent squeal. Park Tool's torques are about 4-5 Nm for the pad nut, about 6 Nm for the mounting bolts and about 5 Nm for the cable pinch bolt. Lever travel is set with the cable barrel adjuster (the further you turn it out, the closer the pads sit) and centring with the spring tension on each arm.
More on brakes: pads, torques and cleaning
Keep the rim free of grease and oil: for the braking surface, Park Tool recommends isopropyl alcohol, which leaves no oily film.
Tyres and pressure
There's no single right pressure for every BMX: each tyre has its allowed range printed on it, and within that your weight and where you ride come into it. Go below the minimum and pinch flats become more frequent; go over the maximum and you risk the tyre. Check the pressure before you head out, especially if you haven't ridden for a few days. With the tyre off, take the chance to look inside the rim: Park Tool recommends checking that the rim strip covers the spoke holes properly and that no spoke end pokes through. Our BMX tyres guide covers how to choose the size and width for your terrain.
Headset and bottom bracket
If there's play in the headset, the adjustment Park Tool describes for a threadless headset (with a top cap and bolt above the stem) is this:
Loosen the stem’s side bolts.
Turn the top-cap bolt an eighth of a turn clockwise.
Tighten the side bolts.
Test again and repeat until the play is gone.
Headset adjustment in full detail
loosen the stem's side bolts, turn the top-cap bolt only an eighth of a turn clockwise, tighten the side bolts and test again. Repeat until the play is gone. Park Tool's rule is to run it "as loose as possible with no play": over-tighten it and the steering turns rough and the bearings get marked sooner. The top-cap bolt only adjusts the headset; what holds the stem to the fork is the side bolts. If you can't get rid of the play, there may be a spacer missing under the stem or the bearings may be worn.
At the bottom bracket, check every month that the cranks have no side-to-side play and turn smoothly and quietly. Odyssey points out that many clicks blamed on the cranks come from pedals that aren't tight enough. And the left one goes on the opposite way to habit: the right pedal has a right-hand thread (tightens clockwise) and the left a left-hand thread (tightens anticlockwise), according to Park Tool. Grease the thread well before fitting them and use the opposite crank as a lever. Our BMX pedals guide has the usual thread sizes (9/16" and 1/2") and what to pick if you replace yours.
Hubs and spokes
With the wheel off the ground, hold the rim and move it from side to side: if it shifts relative to the axle, the hub has play. Spin it: it should keep turning for a good while with no rough noise. It's a quick bearing check, not a workshop inspection.
Hubs and spokes: truing and tension
For the spokes, Odyssey's trick is to grab a bunch and squeeze them in your hand: as they start to dig in, they should only have moved a couple of millimetres each; if they give much more, the wheel needs tensioning. If you're going to true the rim yourself, Park Tool advises correcting by tightening the spokes on the opposite side to the deviation, a quarter turn at a time, and gives 0.5 mm or less of lateral deviation as a guideline. It also asks you to lubricate the nipple threads from time to time. If the wobble won't come out by tensioning, the rim may be bent.
Bolts and torque
One important warning here: there's no single torque for the whole bike. Park Tool sums it up in its table: the figures are for reference only and you should contact the manufacturer for the most up-to-date specifications. For stem bolts, for example, it lists values from 5 Nm up to 29.4 Nm depending on the brand and the bolt. What counts is the value printed on the part or in its manual. These are the Park Tool figures that do apply to a BMX:
Pedal into crank
≈ 40 Nm
About 360 in-lb. Park Tool, pedals.
Wheel axle nut
29.4–44 Nm
Park Tool’s general table; “around 25 Nm” in its single-speed chain guide.
U-brake
4–5 · 6 · 5 Nm
Pad nut / mounting bolt / cable pinch bolt (6 and 5 Nm, approx.). Park Tool.
Headset top cap
⅛ turn
Set by feel, in eighths of a turn. Park Tool.
Stem bolts
No single figure
Check the stem or its manual. Park Tool lists 5 to 29.4 Nm depending on brand and bolt.
With or without a torque wrench
Don’t overdo it
If you have a torque wrench, use it; if not, go by feel and no extension (Odyssey).
Axle nuts, stem and tightening rules
Between the two axle-nut figures, the right one is whatever your hub or frame manufacturer gives. If you have a torque wrench, use it. If you don't, Odyssey recommends going by feel and not overdoing it: almost everyone tightens too much, and with an extension on the wrench you ruin bolt heads, threads and even parts of the bike. Two rules from the same source: grease the stem bolts, but keep grease off where the bars or fork grip it, and if a stem has slipped, clean it and reassemble rather than tightening it more.
After a crash or a hard knock, go over everything in this section before riding again, and look at the frame and fork for any crack next to the welds (our guide to buying a used BMX explains where to look). Grips tend to shift over time: if you're replacing yours, there's our comparison of the ODI Longneck SL and SLX grips.
Basic tools
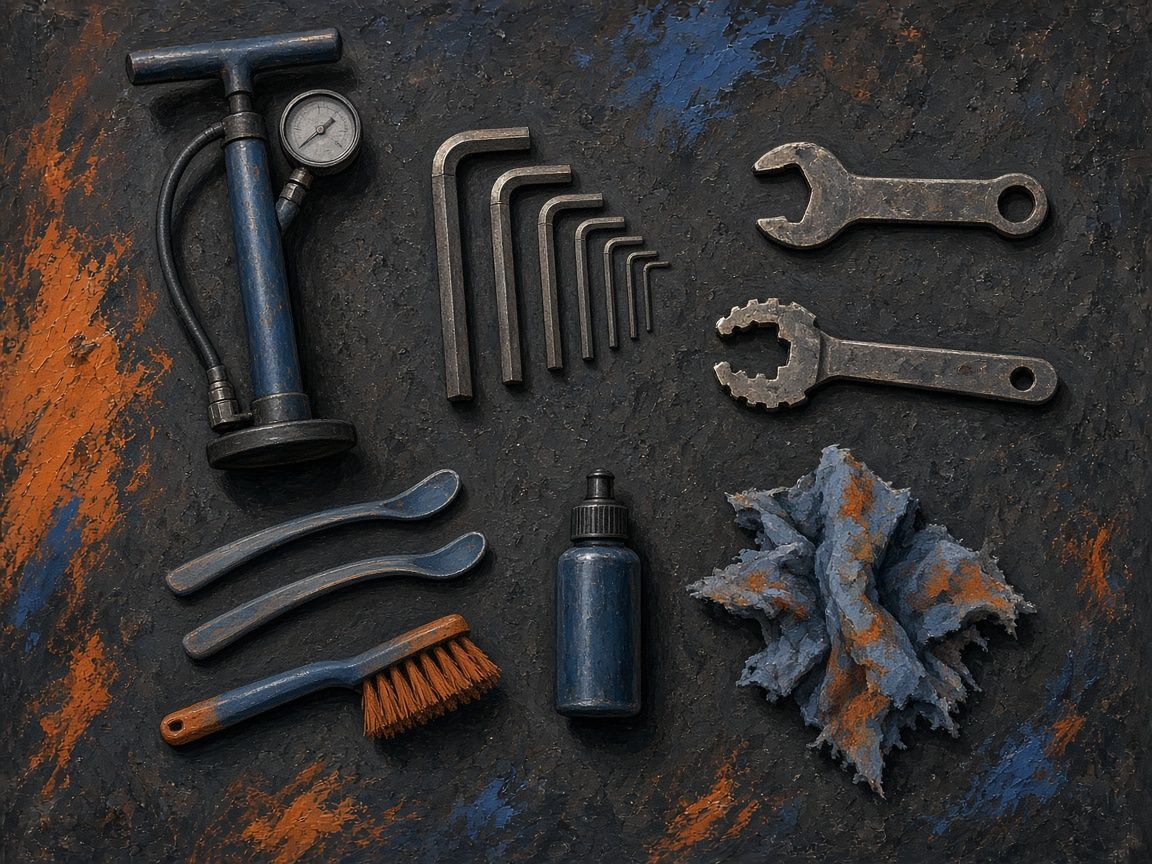
You don't need a workshop. To start with:
- A pump with a gauge. Without a gauge, you don't know what pressure you're riding on.
- A set of Allen keys in the sizes your bike uses and a wrench for the axle nuts (open-ended, socket or adjustable; check what size yours are).
- A pedal wrench. Park Tool warns never to use a cone wrench as a pedal wrench. Some pedals have a socket for an 8 mm Allen key on the back of the thread.
- A brush, bike degreaser, chain lube, grease and rags. Park Tool mentions PPL-1-type grease and anti-seize for pedal threads.
- Tyre levers, patches or a spare tube. For punctures. Never use a screwdriver, as Park Tool reminds you.
When you want to go a step further
When you want to go a step further:
- A torque wrench for bolts that call for a torque.
- A chain wear checker and a chain tool (with pliers for the quick link).
- A spoke wrench in the size of your nipples.
Common mistakes
- Tightening like a gorilla. With an extension on the wrench or all your strength, the only reliable result is stripped threads or cracked parts. If a bolt takes a lot of force to turn, stop and work out why.
- Putting too much grease or oil on the chain. Whatever's left over attracts dirt: always wipe off the excess.
- Using WD-40 as a regular lube. Park Tool advises against it for the chain.
Six more mistakes
- Leaving grease where it shouldn't be. Inside the stem, on the part of the fork it clamps or on the rims if you brake on them.
- Correcting headset play with the top cap without loosening the side bolts first. Park Tool says to loosen them before touching the cap.
- Tensioning the chain with the wheel crooked. Move both nuts equally and check the wheel sits centred between the chainstays.
- Cross-threading the left pedal. It's a left-hand thread. Always start it by hand.
- Replacing the chain and leaving the sprocket and chainring. If they were badly worn, the new chain will skip: change them together.
- Ignoring a bent rim. Park Tool explains that if tensioning the spokes can't correct it, the rim is deformed and needs replacing.
When to take it to a shop
Learning to look after your bike doesn't mean doing everything yourself. Leave it with a mechanic when:
- You see a crack in the frame or fork. There's no home fix and you shouldn't keep riding it.
- The rim is bent or you break spokes often. Park Tool gives a rule of thumb: three broken spokes justify a new wheel.
- The crank thread is damaged and the pedal won't go in. According to Park Tool, once the thread is gone a bushing has to be fitted, a job for a professional.
- The stem is seized or the headset still feels rough after adjusting it: Park Tool points to worn bearings.
- You want to replace pedal bearings or rebuild a wheel. Park Tool recommends leaving those to mechanics.
- You don't trust your own tightening on a critical part: bars, stem, cranks. A shop will set them to torque and tell you about it.
Go ride
A well-kept BMX is one that lets you think about nothing but the trick. Start with the one-minute check, clean the chain when it's due and, if the bike is new to you, look at the first upgrades worth making and the first steps. Then find a track near you and get out on it.
Frequently asked questions
How often should I maintain a BMX?
It depends on how much you ride and on the terrain. As a rule of thumb: a one-minute check before every session, cleaning and lubing the chain and looking at bolts, spokes and hubs every week of use, and a thorough pass (chain, tyre and pedal wear, bearings) once a month. After rain, mud or a crash, sooner.
How much slack should a BMX chain have?
Park Tool gives about 12 mm (half an inch) of up-and-down movement halfway along the chain as the reference. If the chainring or sprocket isn't perfectly round and there are tight and loose spots, set it to about 6 mm (a quarter of an inch) at the tightest spot. The chain may rattle when you pull it sideways, but it shouldn't come off.
What should I lube the chain with? Is WD-40 OK?
A lubricant made for chains, one drop per link, wiping off the excess. Park Tool distinguishes between wet lubes (better in rain) and dry ones (they attract less dust) and doesn't recommend household penetrating oil such as WD-40 as a regular chain lube.
What torque should I use on my BMX's bolts?
Whatever each part's manufacturer gives, which may be printed on the part or in its manual: there's no single figure. Park Tool publishes a reference table with very different values by brand and says to check with the manufacturer. For pedals (about 40 Nm according to Park Tool) and axle nuts, a torque wrench is best or, at the very least, good leverage and a lot of care.
What pressure should I run in my BMX tyres?
It depends on the tyre: stay within the range printed on the sidewall. Low pressure increases pinch flats and valve cuts, according to Park Tool; never exceed the maximum. Check it with a gauge before each session.
When should I replace the chain?
Park Tool gives 1.0% wear as the limit on a single-speed drivetrain, measured with a chain checker. Going past that wears out the sprocket and chainring sooner. If you change the chain and it skips, look at those two parts.
Sources
- Park Tool — Chain Replacement: Single Speed Bikes (tool manufacturer)
- Park Tool — When to Replace a Worn Chain
- Park Tool — How to Clean and Lubricate a Chain
- Park Tool — The Guide to Bicycle Lubricants and Compounds
- Park Tool — How to Adjust a Threadless Headset
- Park Tool — Torque Specifications and Concepts
- Park Tool — U-Brake Service
- Park Tool — Tire and Tube Removal and Installation
- Park Tool — Wheel Truing (Lateral & Radial)
- Park Tool — Pedal Installation and Removal
- Odyssey BMX — How tight is tight? (manufacturer)