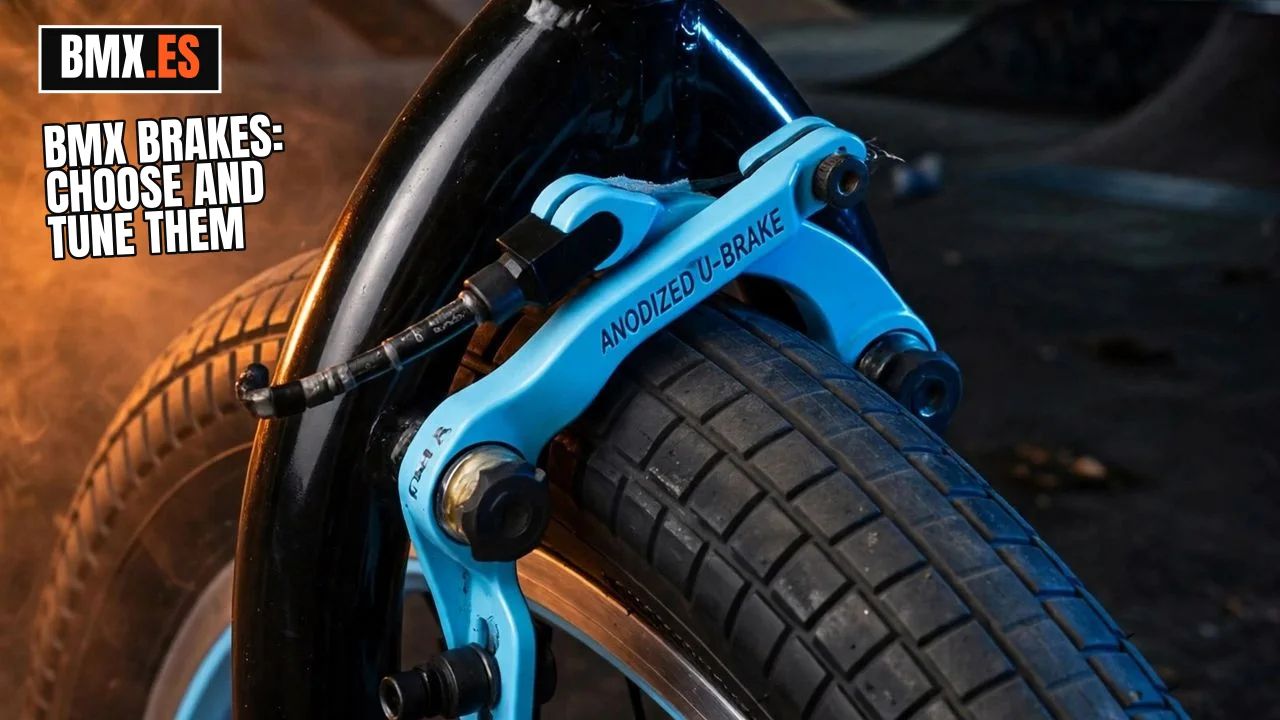
Gear · 7 min read
BMX brakes: types, setup and the gyro explained
U-brake, V-brake and caliper; the gyro that lets the bars spin 360°; pads, centring and lever feel, with the completes that already run them.
Guide updated
Quick answer: The freestyle brake is a rear U-brake; the racing brake is a rear V-brake (a disc on high-end bikes); basic bikes use a caliper. The gyro is the rotor that lets the bars spin 360° without tangling the rear brake cable: essential for barspins and tailwhips, unnecessary if you never spin the bars. To start with, learn with a brake: going without one is a decision for later.
A BMX has at most two brakes, and almost always one: the rear one. That is not an oversight, it is the design: the front brake gets in the way of ground tricks, the rear brake is enough to control speed and, with a gyro, the bars can spin without tangling the cable. This guide follows that order: which brake each BMX runs, what the gyro is and how it works, what wears out (the pads) and how to adjust everything at home.
The three BMX brakes
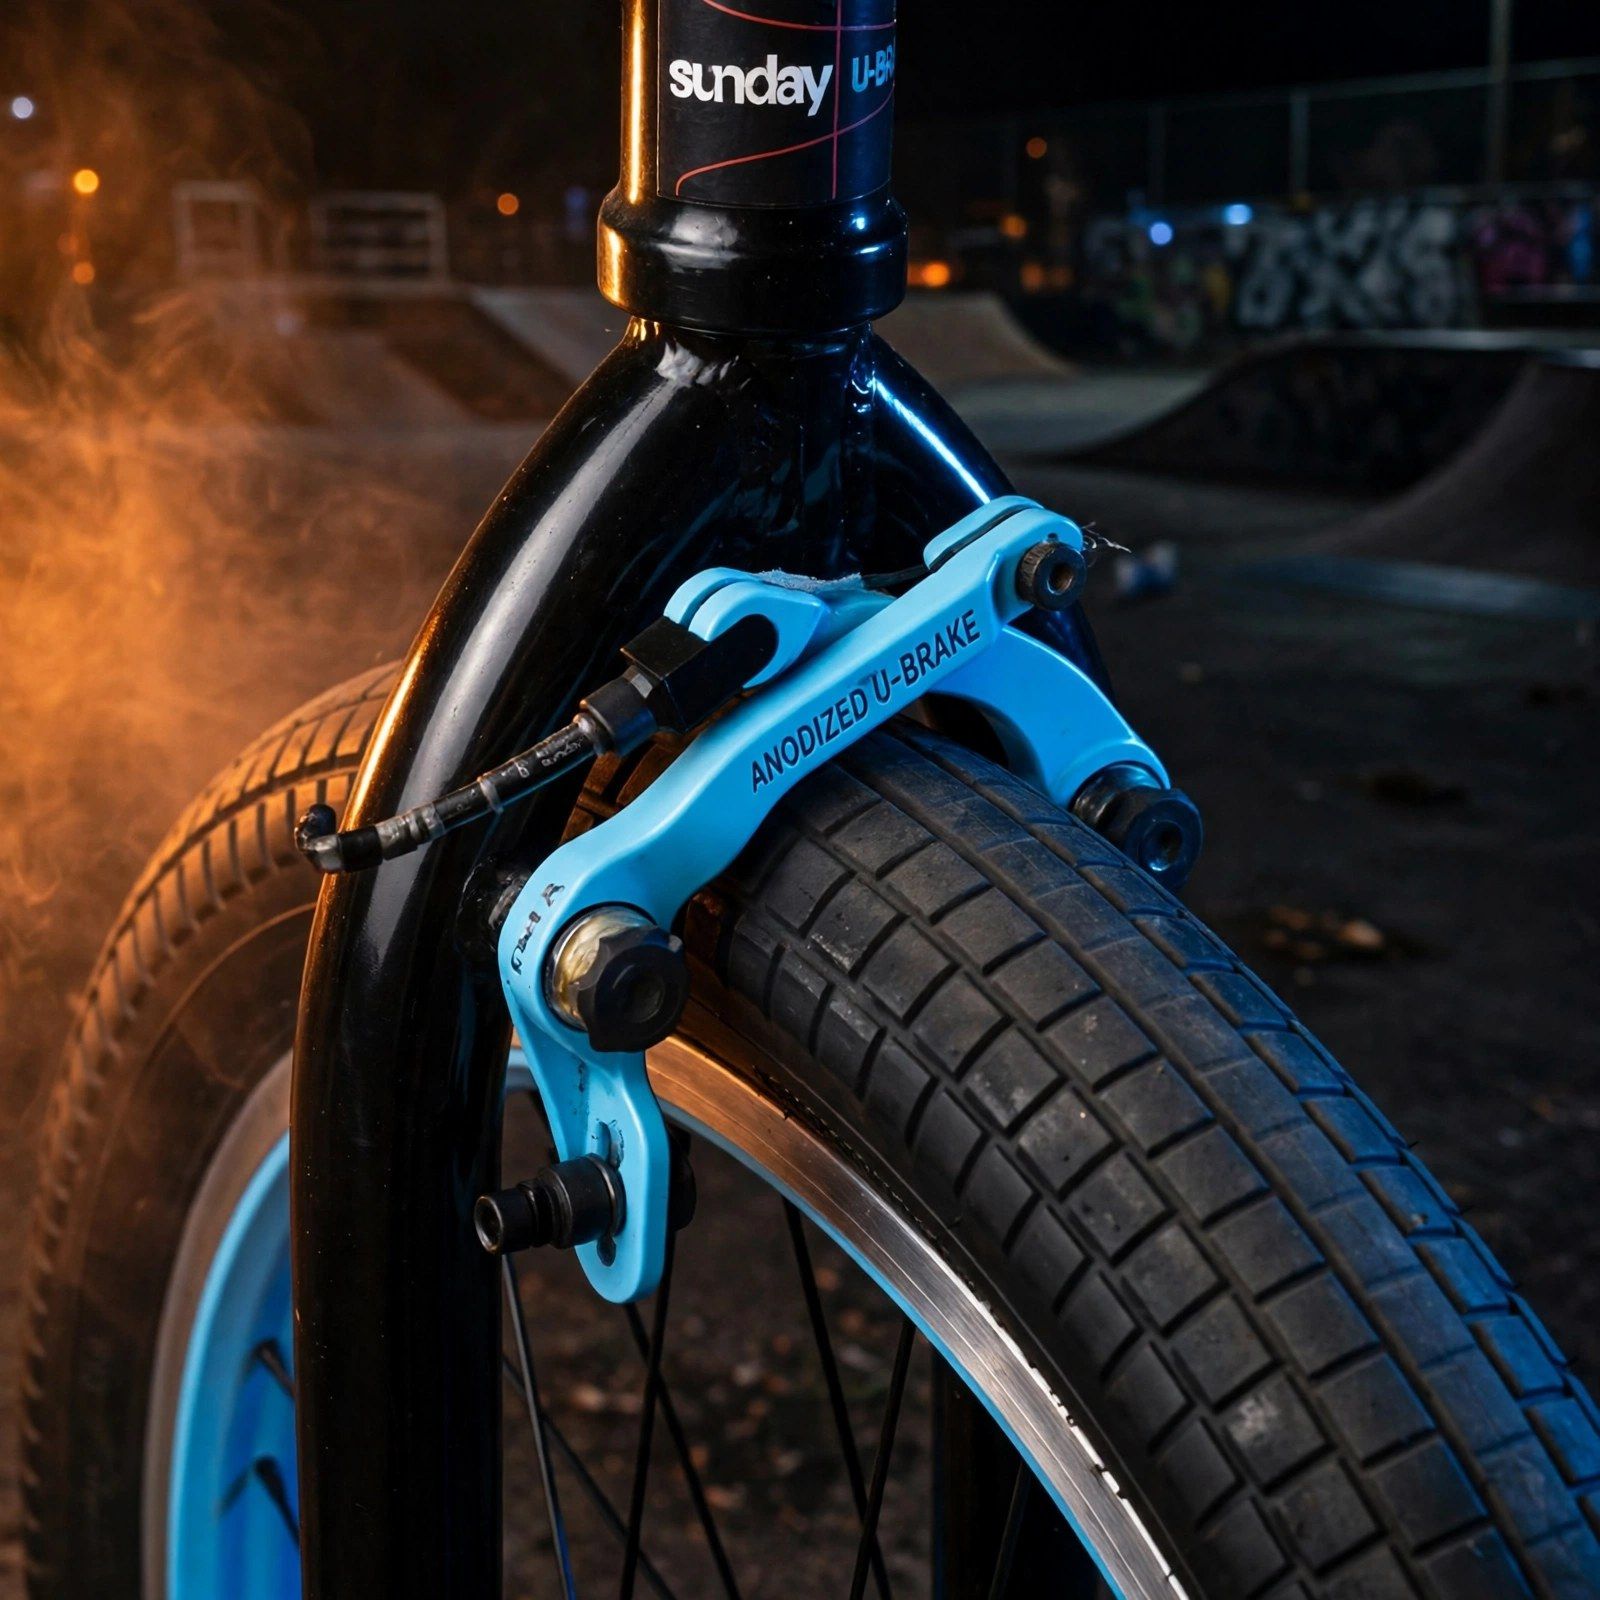
All three are rim brakes: the pads squeeze the wheel’s braking surface. What changes is where they mount and how much cable they pull.
| Type | Where it goes | Who it suits |
|---|---|---|
| U-brake | Rear, above the rear wheel, mounted to the seat stays and chainstays | Freestyle: short arms, compact, clear of grinds and pegs |
| V-brake | Rear (sometimes front too) on race bikes; long arms, more leverage | Racing: more power to brake from speed; needs a compatible-pull lever |
| Caliper | Front and rear, on a single mounting point on the bridge | Basic and kids’ bikes: simple and cheap, less powerful than the other two |
The gyro, explained
The gyro — also called a rotor or detangler — is the invention that lets the bars spin full turns without tangling the rear brake cable. Without it, a barspin or a tailwhip would twist the cable until it snapped or locked the steering; with it, the cable runs through a rotor that spins with the bars while the pull still reaches the brake.
How the gyro works, piece by piece
The cable from the rear brake lever splits in two, and each half runs to one side of the head tube, to tabs on an upper plate joined to a bearing. Squeezing the lever pulls both cables and lifts the plate; the lower plate, on the same bearing, pulls the two lower cables, which join back into one cable to the rear brake. The bearing lets the plates spin 360° with the bars without anything tangling: the pull gets through however far the bars turn.
The front brake, if you run one, does not go through the gyro: its cable runs down inside the head tube, through a hollow stem bolt. And the gyro needs its tabs on the frame: the frame guide explains what to look for so they are removable.
Do you need one? If you do barspins, tailwhips or any full bar rotation, yes: without a gyro there is no trick. If you never spin the bars, a direct cable from brake to lever is simpler, lighter and gives a more direct feel. Completes with a gyro exist — the KHE Cope, for example, runs the Rotor Affix system — and the reference kit is the Odyssey Gyro G3: Odyssey has made the Gyro since 1986 and its dual-cable system is the industry standard.
Brake pads: the part that wears out
The pad is the brake’s consumable: a rubber block that wears away with every stop. When it wears down it brakes less and squeals more, so it is the first thing to check when the brake «doesn’t brake like it used to».
- Position. The pad sits on the lower edge of the rim’s braking surface — as it brakes, the arm travels on an arc and the pad rises — with its face flat and square to the rim.
- Toe-in. The front of the pad touches the rim slightly before the rear: that small angle is what stops the squeal. If the brake squeals, it is almost always the toe-in, not the pad.
- Wear. Most pads have a wear line: if the rubber reaches the line, or the pad has gone hard and glazed, it is time to change it. And a dirty or greasy rim brakes half as well: clean it before blaming the pad.
The basic setup, in four steps
A well-set U-brake is done in this order, and the order is the trick: tension first, then centring, pads last.
- Cable tension. Feel is fine-tuned with the barrel adjuster on the lever: turn it until the brake bites firmly without the lever reaching the grip. If the adjuster runs out, loosen the cable pinch bolt at the brake, pull the cable through and tighten it again.
- Centring. If one pad rubs and the other does not, do not move the wheel: change that arm’s spring tension. More tension on one side pulls its pad away from the rim; adjust a little at a time until the gap is equal on both sides.
- Pads. With the brake slack — Park Tool recommends backing the mounting bolts off a quarter-turn so you can work without fighting the spring — set the pads on the lower edge of the braking surface, flat against the rim and with toe-in. Park Tool’s reference torques: brake mounting bolt, 6 Nm; pad nut, 4–5 Nm.
- Lever feel. The final test is in your hand: the lever must bite with travel to spare before it touches the grip. If it reaches the grip, it needs more tension or the pads are worn.
You do not need a workshop for any of this: 4, 5, 6 and 8 mm hex keys and the 17 mm socket to drop the wheel cover everything at the spot. The multi-tool guide explains which tool covers each size, and the BMX maintenance article puts the brake check in its one-minute inspection.
Front, rear, or rear only?
| Setup | Who it suits | What you gain and lose |
|---|---|---|
| Rear only | Standard freestyle and most riders | Bars free for tricks, less weight and fewer cables; you never miss the front brake at the park |
| Front + rear | Learning, street riding in traffic, kids | Shorter, safer stops; the front brake gets slightly in the way of ground tricks |
| No brake (brakeless) | Advanced street, park only | Clean bars and frame, spins with no cable; zero margin for error and no emergency brake |
Common brake mistakes
Do
- Learn with a brake: it is your margin for error until you fully control the bike.
- Centre with each arm’s spring tension, not by moving the wheel.
- Check the pads before blaming the cable: the wear line and the toe-in rule.
Do not
- Removing the brake on day one: learn to control the bike first; taking it off is a decision for later.
- Setting the pads with the spring loaded: back the mounting bolts off a quarter-turn and work without fighting the brake.
- Fitting any lever to a V-brake: it needs a compatible-pull lever, or the feel never arrives.
A new brake or a bike with a brake?
If the bike already has a brake, changing the whole system almost never pays: swap the pad, adjust the cable or, at most, the brake itself for a better one of the same type. Below are completes that already run what this guide explains: a rear U-brake on the Mongoose Legion L20 and the Wethepeople CRS 2021, V-brakes front and rear on the KHE Cosmic AL, and a gyro with the Rotor Affix system on the KHE Cope. And if your frame has no brake mounts or no gyro tabs, the frame guide explains what to check before buying the next one. To compare sizes and levels, the best beginner BMX guide orders the completes; for kids, the BMX for kids guide has the sizes by wheel.
Frequently asked questions
What brake does a freestyle BMX run?
A rear U-brake: two short arms above the rear wheel that squeeze the rim with the pads. It is compact, clear of grinds and pegs, and it is what almost every freestyle complete ships with.
What is a gyro, and do I need one?
The gyro (rotor or detangler) lets the bars spin 360° without tangling the rear brake cable: the cable splits in two, runs through bearing plates at the head tube and joins back into one to the brake. You need it for barspins or tailwhips; if you never spin the bars, a direct cable is enough.
Why does my brake squeal?
Almost always the toe-in: the pad must touch the rim front-first, rear a moment later. If the angle is flat or reversed, it vibrates and squeals. A worn pad or a dirty rim can do it too.
How do I centre a U-brake that rubs on one side?
With that arm’s spring tension: more tension pulls its pad away from the rim. Adjust a little at a time until the gap is equal on both sides; do not move the wheel to centre the brake.
Front, rear, or both?
To learn, both: shorter, safer stops. In freestyle, almost everyone runs rear only to keep the bars free. In racing, a hand-operated rear brake is compulsory and the front is optional.
Can I ride without a brake?
You can, and in advanced street it is part of the culture: clean bars and frame, spins with no cable. But it is not for beginners: with no brake there is no margin for error and no emergency stop. Learn with a brake and decide later.